Decoding NIPR: how to use the National Insurance Producer Registry without losing your mind
NIPR (the National Insurance Producer Registry) is the centralized portal where insurance producers apply for non-resident licenses, renew existing ones, and look up their NPN. If you’ve never used it, the interface feels like it was designed in 2004 by someone who hated you. It’s functional, but it goes out of its way to make simple tasks confusing.
I’ve filed non-resident applications through NIPR in 14 states. I still have to slow down and think every time I log in. Here’s the user manual that NIPR never bothered to write.
Finding your NPN
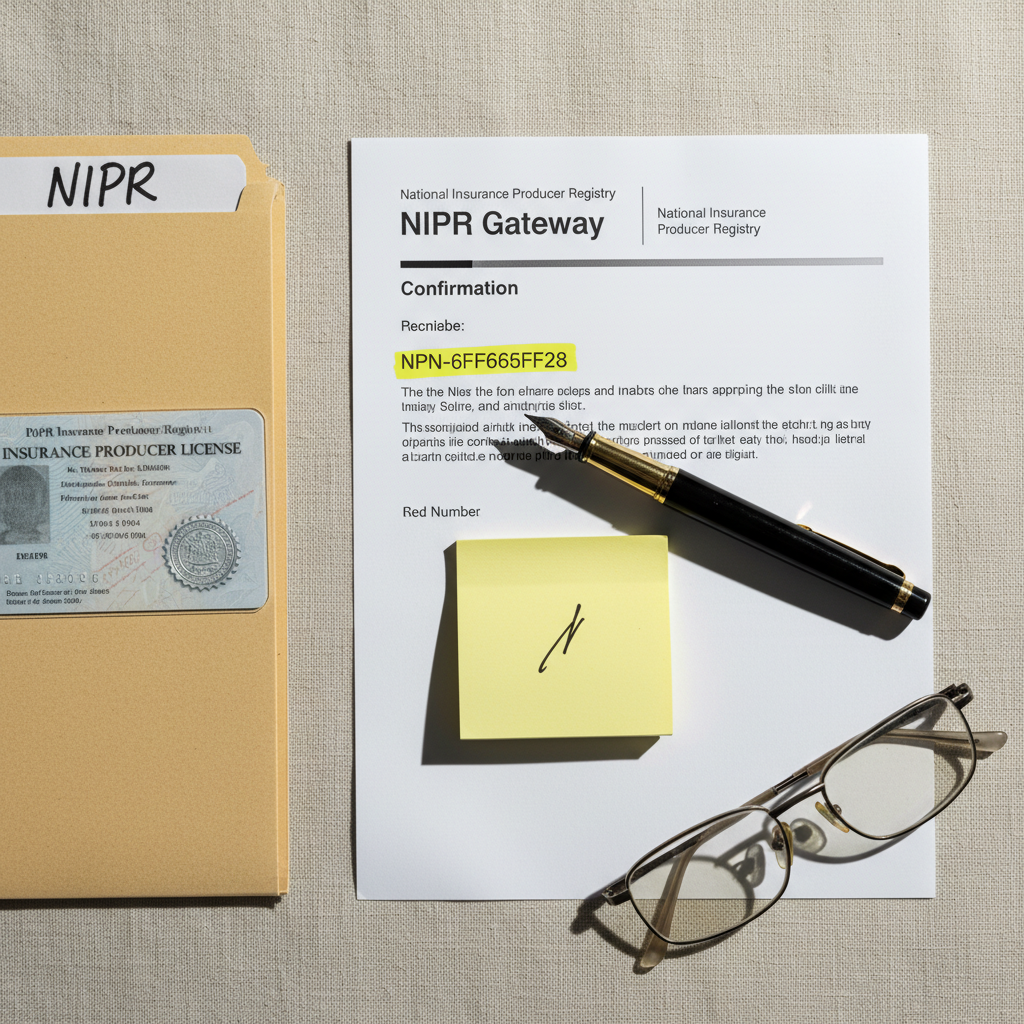
Your National Producer Number is the key to everything in the NIPR system. Every insurance producer who has ever held a license in any state has one, and it follows you for life.
To look it up, go to nipr.com and click “Producer Licensing” then “NPN Lookup.” You can search by your name and state of residence, or by your Social Security Number. The SSN search is more reliable if you have a common name.
Three things to know about the NPN:
- It’s assigned automatically when your home state reports your first license to the NAIC database. You didn’t apply for it. It just exists.
- You have exactly one NPN. It doesn’t change when you move states or add lines of authority.
- If the lookup returns nothing, your home state hasn’t reported you yet. Call your state’s Department of Insurance. This is their problem to fix, not NIPR’s.
Setting up your NIPR account
Before you can file anything, you need a PDB (Producer Database) account. Go to nipr.com and click “Create Account.” You’ll need your NPN, SSN, date of birth, and a working email address.
The verification process takes about 10 minutes. NIPR will match your information against the NAIC database. If anything doesn’t match exactly — a middle initial here but not there, a name change that hasn’t propagated — the system will reject you. This is the first place people get stuck. Double-check that your home state has your current legal name and address before you try to create a NIPR account.
Once verified, set up two-factor authentication. NIPR requires it for all applications and renewals.
Applying for a non-resident license step by step
This is the core use case. You have a home-state license and want to get licensed in another state without sitting for that state’s exam. Here’s the exact sequence.
Step 1: Log in and select “Apply for a License.” This is under the “Producer Licensing” menu. Don’t click “Renewal” even if you had a license in that state before — if it’s lapsed, you’re starting fresh.
Step 2: Select your resident state. NIPR pulls your current license status from your home state’s records. If your home-state license is expired, inactive, or suspended, stop here. You can’t get a non-resident license without an active home-state license. Fix that first.
Step 3: Select the non-resident state(s). You can apply to multiple states in a single transaction. This is one of NIPR’s genuine advantages — batching saves time. Select every state you want and NIPR will bundle them.
Step 4: Select lines of authority. Each state has its own line-of-authority codes, but NIPR maps them to a standardized set: Life, Health, Property, Casualty, Personal Lines, and a few others. Pick the lines you want for each state. Not every state offers every line through NIPR — some require a separate paper application. NIPR will tell you which ones during this step.
Step 5: Answer background questions. Every state asks about felony convictions, license revocations, and pending regulatory actions. Your answers must be consistent across all states in the batch. If you answer “yes” to anything, you’ll need to upload supporting documentation (court records, letters of explanation). This can add weeks to the process.
Step 6: Pay. Here’s where it stings. NIPR charges a $25 processing fee per state on top of whatever the state charges for the license itself. State fees range from $15 (Kansas) to $235 (California). NIPR accepts credit cards and ACH. You’ll see the full fee breakdown before you confirm.
Step 7: Submit and wait. Some states approve non-resident applications through NIPR in 24 to 48 hours. Others take 2 to 4 weeks. A handful (looking at you, California) can take 6 weeks or more. NIPR doesn’t control the approval timeline. Once you submit, the application goes to the state, and you wait.
Renewing through NIPR
Renewals are simpler but still have gotchas.
Log in, go to “Renewal,” and NIPR will show you every active non-resident license tied to your NPN. Select the ones due for renewal, verify your information hasn’t changed, and pay. Same $25 NIPR fee per state, plus whatever the state charges.
The catch: NIPR can only renew licenses for states that participate in the NIPR renewal process. Most do, but not all. If a state isn’t listed, you’ll need to renew directly through that state’s DOI website. NIPR maintains a list of participating states under “State Licensing Information.”
Set calendar reminders 60 days before each expiration. NIPR sends email reminders, but they’re easy to miss. If you let a non-resident license lapse, some states make you reapply from scratch rather than simply renewing late.
Common error codes and how to fix them
NIPR’s error messages read like they were written for database engineers, not humans. Here are the ones I’ve hit most often.
“Resident License Not Found” — NIPR can’t find your home-state license in the NAIC database. This usually means your home state hasn’t reported your license or a recent renewal. Call your state DOI and ask them to update your PDB record. This can take 3 to 5 business days to propagate.
“Duplicate Application Exists” — You already have a pending application for that state. You can’t submit a second one. Check your dashboard under “Pending Applications.” If the old one is stuck, contact NIPR support to have it cleared.
“Line of Authority Not Available” — The state doesn’t offer that line through NIPR. You’ll need to apply directly with the state’s Department of Insurance, usually by paper form. Download the state-specific application from their DOI website.
“Background Question Discrepancy” — Your answers to the background questions don’t match what another state has on file. NIPR cross-references your answers across all jurisdictions. If you answered a question differently on a previous application, you’ll need to reconcile the discrepancy by contacting NIPR support or amending the prior application.
“Payment Processing Error” — Usually a credit card issue. Try a different card or switch to ACH. NIPR’s payment system is particularly finicky with prepaid cards and some corporate cards.
The $25 fee: what you’re actually paying for
NIPR charges $25 per state per transaction (application or renewal) as a “technology” or “convenience” fee. This is on top of every state-imposed licensing fee. If you’re applying in 10 states at once, that’s $250 to NIPR before a single state fee hits.
Is it worth it? Honestly, yes. The alternative is filing paper applications with each state individually, mailing fingerprint cards, and tracking each application by phone. I’ve done that. It takes weeks longer per state and the postage alone starts adding up. The $25 is the toll for avoiding the paper nightmare.
That said, budget for it. When you’re pricing out a multi-state expansion, add $25 per state to your fee estimate. Agents expanding to 15 or 20 states routinely underestimate total costs by $400 or more because they forget the NIPR processing fees.
Tips from someone who’s been through it
Keep a spreadsheet of every state, line of authority, application date, approval date, expiration date, and total fees paid. NIPR’s dashboard shows your active licenses, but it’s not great for historical tracking or planning ahead.
Apply in batches. If you know you need 10 states, do them all in one session. NIPR’s batch processing is genuinely efficient and you only have to answer the background questions once per session.
Print your confirmation pages. NIPR provides them after every transaction, and they’re your proof of filing if a state claims they never received your application. I’ve needed mine twice.
Check the NIPR state-specific pages before applying. Each state has quirks — some require additional forms outside of NIPR, some require fingerprints mailed separately, and a few still don’t participate in electronic processing for certain license types.
Your next move: figure out which states you actually need. If you’re an insurance producer expanding territory, start with the insurance license compact states to see which ones play nicely together before you start batching applications.